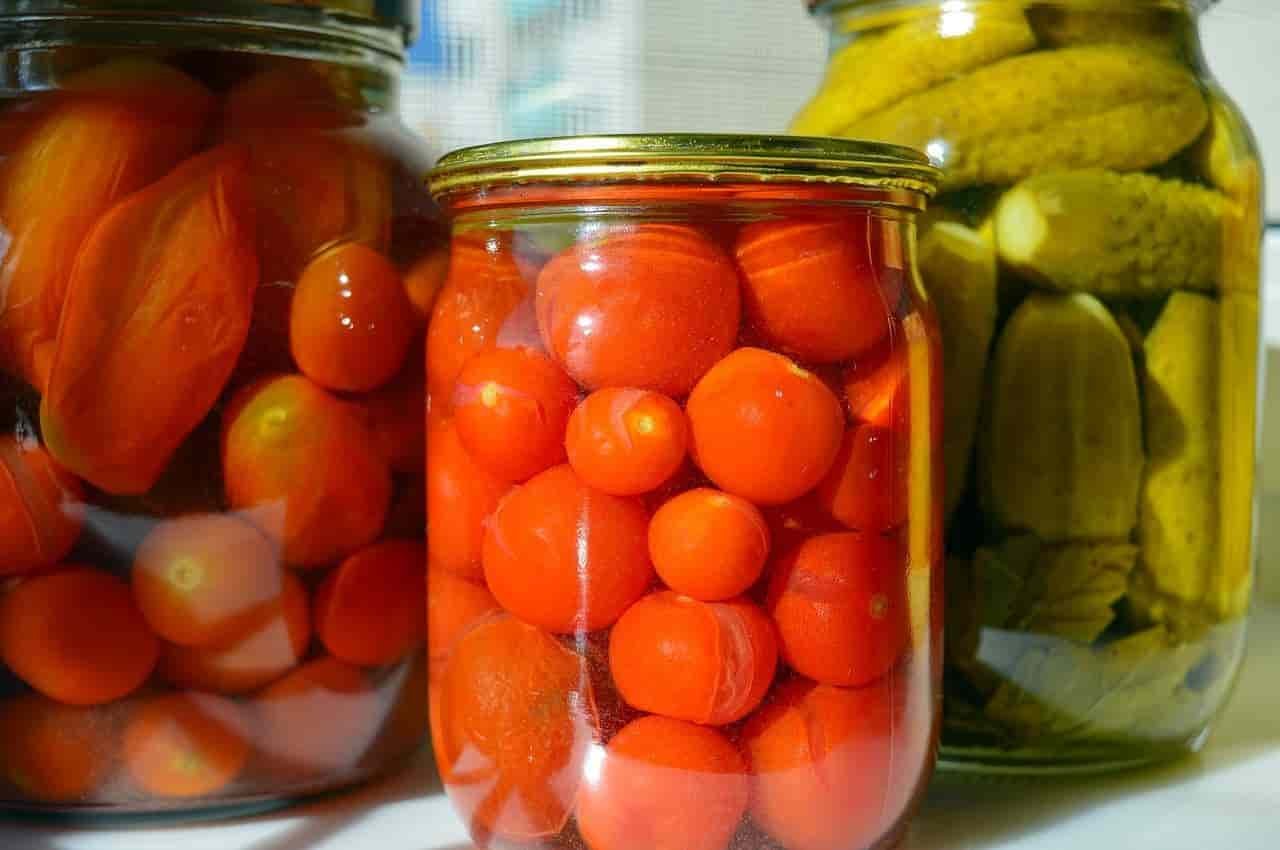
How to Can Food in Jars?
The sterilization of preserve food is an essential step. How to can food in jars? Take jars, and immerse them in a pot filled with water. Leave them on the heat for 10 minutes after they start boiling. Take them out and put them to dry, turned over, on a clean tea towel. Be careful to use new seals and new capsules for each use. Then, fill the jars with your preparation up to 2 cm (0,8 inch) from the edge. Close the jars, and put them back in a large pot. Cover them well with water [at least 2.5 cm (around 1 inch) of water above the lid]. Boil the water to 100°C (212°F) to kill any bacteria present. Turn off the heat, and wait 5 minutes before removing the jars from the water. Everything is done very easily, even without a sterilizer.
1. Prepare your jars
Make sure all surfaces are free of chips, abrasions, or stuck-on residue. Clean jars and lids with hot soapy water. Avoid any collision between the jars. Do not use a metal or abrasive sponge to clean your glass jars.
After cleaning, rinse your glass jars thoroughly in hot water, then leave to air dry.
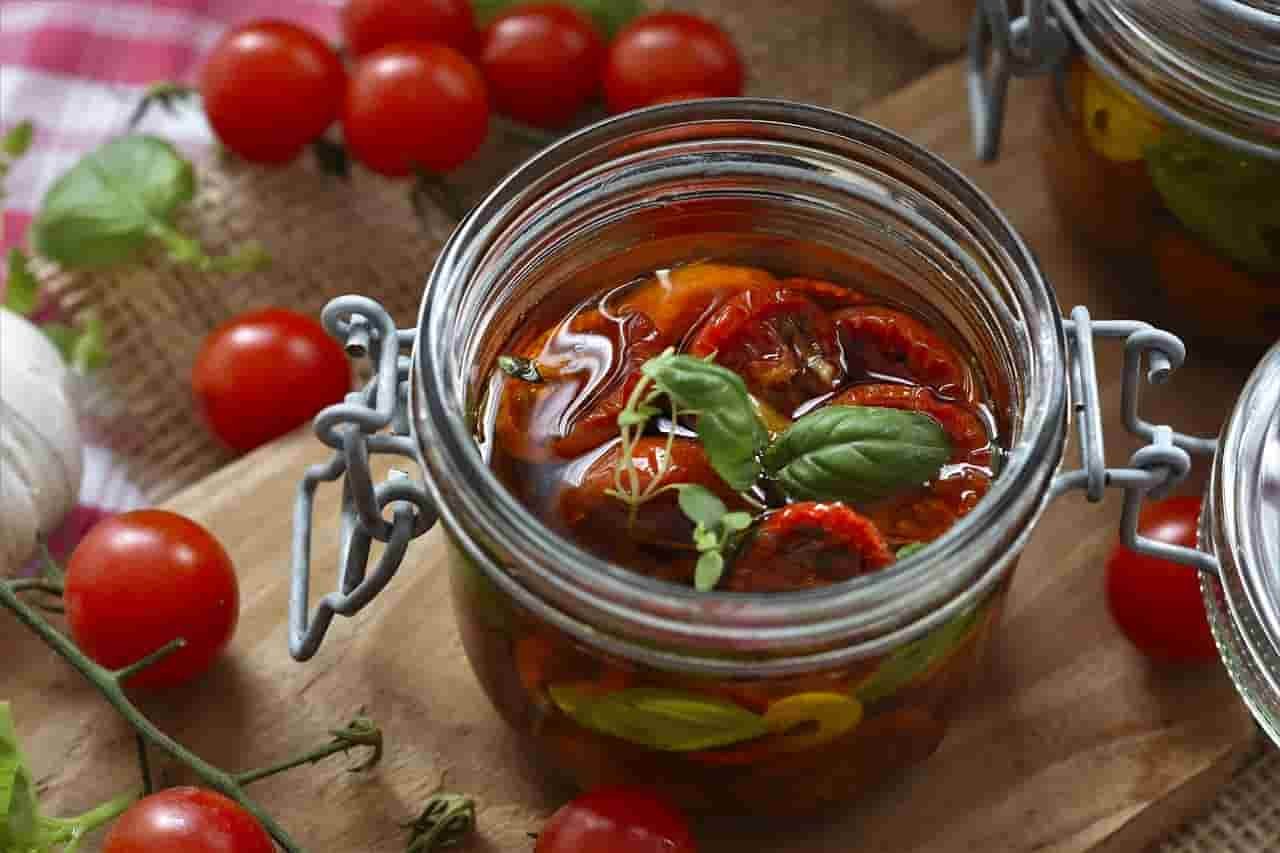
2. Choose healthy and fresh foods
The products and foodstuffs that you have chosen to preserve must be perfectly fresh, healthy and suitable for canning. Never use products or ingredients that are frozen or have been thawed.
It is essential to respect hygiene conditions specific to the preparation of recipes to be canned:
- Your vegetables or fruits must imperatively be washed, without soil
- When preparing them, be careful not to put your peeled food in contact with waste (peelings, leaves).
- Be sure to cook on a clean work surface
- Do not use any wooden utensils as these are not sterile and may contain germs and bacteria which could contaminate your preserves.
- In the context of soups, purees or any other recipes in which the food is mixed, quickly link the different steps of the recipe. By mixing your food, you increase the contamination surface. It is therefore important to minimize the handling time spent preceding the heat treatment.
3. Cook your food
Vegetables should be blanched if needed.
Poultry should be completely hollowed out and the insides thoroughly washed under running water.
Follow the directions in your recipe. All operations
4. Fill your Jars
Whenever the product and its preparation process allow it, fill the jars with the hottest preparation possible, even boiling hot.
Fill your jars up to the filling level engraved on the body or up to 2 cm from the rim.
Then, wait a few minutes to check that your preparation is distributed correctly in the mass, so as to eliminate the air pockets.
Complete if necessary.
5. Seal your Jars
Before closing your jars, be sure to use a new Le Parfait Super universal rubber washer adapted to the format of your jar.
Scald the rings before fitting them on the lids. Check that the edge of your jar is clean before closing. Indeed, a particle stuck between the washer and the glass would cause your canning process to fail.
Finally, fully engage the closing system and proceed immediately to the heat treatment when the recipe calls for one.
The preservation methods differ according to the recipes. Some may use vinegar, oil or salt as preservatives, so heat treatment may not be necessary.
Read also: Dangers of Pesticide Residues in Food | In fruits and vegetables and some health aspects
6. Heat treatment
In order to limit the cooling of the contents of your jars, the water in your sterilizer must already be hot.
The hotter the water in your sterilizer will be; the shorter the time your preserves will take to reach 100°C; and the less your preserves are likely to be contaminated during this lag time.
Note: The heat treatment time indicated for each recipe is valid for the stipulated jar size. This duration must be increased for the use of larger formats (2L and 3L) up to 60 minutes more.
How to can food in jars and to carry out the heat treatment of your jars, 2 options are available to you:
– Pasteurize (treatment below 100°C): electric sterilizers know how to do everything on their own and will allow you to enjoy more free time. They are very easy to use, place the jars inside, taking care to wedge them well so that they do not knock against each other and do not turn over during the heat treatment. Fill the sterilizer with hot water, completely submerge the jars, then replace the lid. Then just set the time and temperature and that’s it! You can use a large cooking pot by adding a thermometer to measure the target temperature,
– Sterilize (treatment above 100°C with a pressurized utensil, recommended for acidic foods): you can use a pressure cooker or a pressure cooker. In this case, put a tea towel at the bottom of your container to prevent any direct contact between the glass and the metal, place the jars inside, taking care to wedge them well so that they do not knock against each other and do not not return during heat treatment. Cover the jars with at least 3cm of hot water and close. In the case of a pressure cooker, fill with hot water following the instructions for filling the pressure cooker and bring to 100°C (boiling temperature, or when the valve of the pressure cooker or pressure cooker simmers ). From this moment, you can activate your timer (but an alarm clock can also do the trick!).
Rapid cooling after passage in the sterilizer is recommended insofar as the sterilization time is respected and sufficient.
Rapid cooling allows two actions:
- it quickly stops the cooking,
- it also makes it possible to quickly condense the vapor present in the jar and make it more quickly sealed.
To cool the jars, two solutions: either take them out of the water at the end of the sterilization time or be able to cool them directly in the sterilizer with cold water but after letting them cool for at least 30 minutes to avoid shock temperature above 65 degrees. Then place your jars upright in a dry, cool place, away from light. In the case of the pasteurization of low acid products (pH > 4.5), it is recommended to store at 5°C.
7. Check and store your canned goods
When the jars are completely cooled, check that the vacuum inside is correct by unblocking the closing system. The lid should stay “stuck” to the jar and resist pulling.
If the lid does not stay stuck once the locking system is unlocked, this may be due to:
– Incorrect filling: too low or too high.
– Incomplete heat treatment: time too short and/or temperature too low.
– A sealing defect: chipping or staining on the edge or on the cover.
– The use of a washer that is too old, worn, damaged or of a model that is unsuitable for the format.
Remedy the anomaly observed and start the heat treatment again, imperatively using another washer.
Proceed in the same way by unscrewing the lid. The capsule must be stuck to the glass jar and resist pulling. If the capsule is not held on the glass jar by the vacuum, start the heat treatment again, using a new capsule.
Store them in a cool, dry place away from direct light.
8. Open your jars
Before opening your jars, check that there is still a vacuum by proceeding as in step 7.
Do not eat the food, even to taste it, in the following cases:
– The lid of jars does not remain stuck once the locking system is unlocked
– The rubber capsule of jar does not stick to the jar.
– You simply have a doubt about the good state of conservation
Opening must be done by an adult. Pull the tab on the washer to let air into the jar, the lid will come off.
For easier opening, it is recommended to use the Le Parfait washer designed especially for this purpose. All you have to do is pierce the capsule.
If you choose to heat your jar in the microwave oven, remember to remove the can or metalic part beforehand.
Now you know how to food in jars, why don’t you let us know your experience?
Sources: PinterPandai, Lovely Greens, Serious Eats